Are you ready to take your computer experience to the next level? In this step-by-step tutorial, we will guide you through the process of upgrading to Windows 11. Get ready to explore the exciting new features and enhance your productivity with Microsoft’s latest operating system. Let’s dive in!
Check system requirements before upgrading to Windows 11
Before upgrading your operating system to Windows 11, it is crucial to ensure that your system meets the necessary requirements. Failing to do so may result in compatibility issues or a less-than-optimal performance. To avoid any potential headaches, follow these steps to confirm if your device can handle the upgrade:
- Review the minimum hardware specifications: Take a look at Microsoft’s official website to check if your device meets the minimum requirements for Windows 11. Pay attention to the processor, RAM, storage, and graphics card specifications.
- Check for TPM 2.0 support: Windows 11 requires a Trusted Platform Module (TPM) version 2.0, which is a hardware-based security feature. Check if your computer has TPM 2.0 support. If not, you may need to enable it in the BIOS settings or consider upgrading your hardware.
- Verify compatibility with Secure Boot: Windows 11 also requires Secure Boot, a feature that ensures the operating system’s integrity during startup. Confirm that your device supports Secure Boot and that it is enabled in the BIOS settings.
- Assess your device’s storage capacity: Windows 11 requires a minimum of 64 GB of storage. Ensure that your device has enough free space to accommodate the new operating system and any additional software you plan to install.
- Consider checking for driver updates: Some older devices may require updated drivers to work efficiently with Windows 11. Visit the manufacturer’s website for your hardware components (such as graphics cards or printers) to see if there are any updates available.
By performing these checks, you can determine if your system is ready for the upgrade to Windows 11. Taking the time to ensure compatibility will help you have a smooth and trouble-free transition to the new operating system.
Backup your important files and data before the upgrade
Before proceeding with the upgrade to Windows 11, it is crucial to back up all your important files and data. Upgrades can sometimes lead to data loss or device malfunction, so taking precautionary measures beforehand is essential.
Here are some steps to help you backup your files:
-
Identify important files and data
Make a list of the files and data that you consider important and need to be backed up. This may include documents, photos, videos, and other personal files.
-
Choose a backup method
There are several ways to backup your files, such as using an external hard drive, cloud storage services, or specialized backup software. Consider the amount of data you have and choose the method that suits you best.
-
External hard drive
If you prefer using an external hard drive, connect it to your computer and copy the important files onto it. Make sure you have enough storage space on the external hard drive.
-
Cloud storage services
Cloud storage services like Google Drive, Dropbox, or Microsoft OneDrive provide a convenient way to backup your files. Upload the important files to your chosen cloud storage service.
-
Backup software
There are various backup software available that allow you to automate the backup process. Explore different options and choose one that suits your needs.
-
Verify your backups
Once you have completed the backup, it is crucial to verify that your files are successfully backed up and can be accessed. Double-check that all important files are present and intact.
Remember, taking the time to backup your important files and data ensures that you have a safety net in case anything goes wrong during the upgrade process. It provides peace of mind and helps protect your valuable information.
Download and Install the Windows 11 Upgrade Assistant
If you are considering upgrading to Windows 11, the first step is to download and install the Windows 11 upgrade assistant. This tool will help you determine if your current device is compatible with the newest version of Windows and guide you through the upgrade process. Follow the steps below to get started:
- Visit the official Microsoft website and navigate to the “Windows 11” page.
- Find the “Download now” button for the Windows 11 upgrade assistant and click on it.
- Save the installation file to your computer.
- Once the download is complete, locate the installation file and double-click on it to run the upgrade assistant.
- Follow the on-screen instructions to check your device compatibility and prepare it for the Windows 11 upgrade.
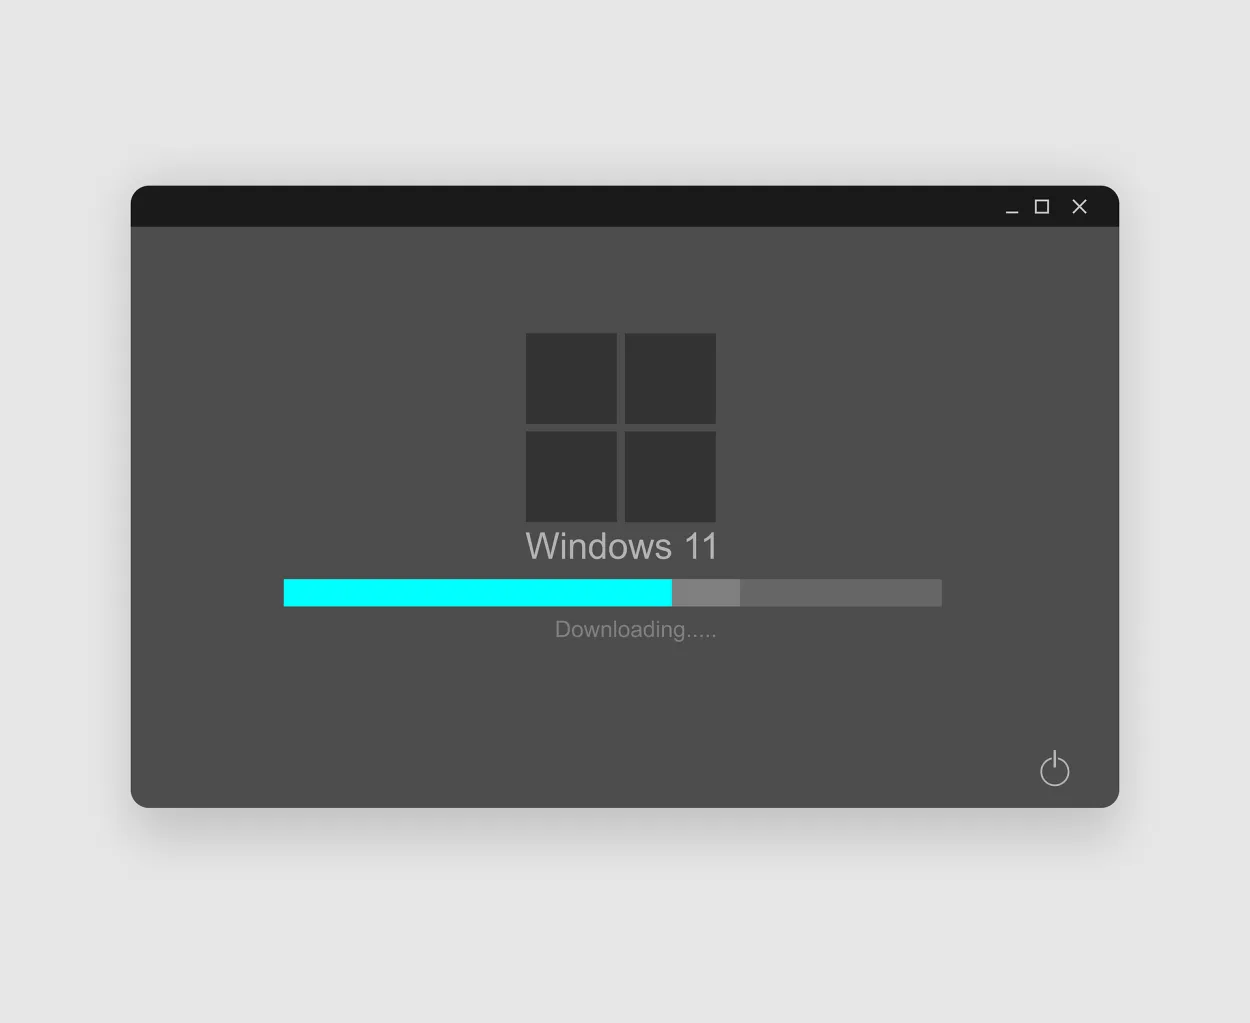
- If your device meets the requirements, the upgrade assistant will download and install Windows 11. This process may take some time, so be patient.
- After the installation is complete, you will be prompted to restart your computer.
That’s it! You have successfully downloaded and installed the Windows 11 upgrade assistant. Now you can enjoy the new features and improvements brought by Windows 11 on your compatible device.
Follow the on-screen prompts to complete the upgrade process
Upgrading to Windows 11 can be an exciting experience, but it’s important to follow the steps carefully to ensure a successful upgrade. To guide you through the process, here is a step-by-step tutorial:
- Check system requirements: Before starting the upgrade, make sure your device meets the minimum requirements for Windows 11. This includes processor, RAM, storage, and security features.
- Backup your files: It’s always a good practice to back up your important files and documents before any major system modifications. Create a backup on an external hard drive or cloud storage.
- Check for updates: Before proceeding, ensure that your current Windows version is up to date. This will help smoothen the upgrade process and minimize compatibility issues.
- Download the Windows 11 installation tool: Visit the official Microsoft website and download the Windows 11 installation tool. Follow the on-screen instructions to set it up.
- Launch the installation tool: Once the installation tool is ready, open it and select the “Upgrade this PC now” option. This will begin the upgrade process.
- Confirm installation options: During the upgrade process, you will be prompted to select certain installation options, such as language, edition, and storage settings. Choose the options that suit your preferences.
- Begin the upgrade: After confirming the installation options, click on the “Install” button to initiate the upgrade process. Your computer will then start downloading and installing Windows 11.
- Follow on-screen prompts: Throughout the installation, carefully read and follow the on-screen prompts. These prompts will guide you through the various stages of the upgrade, such as license agreements and privacy settings.
- Wait for installation to complete: The installation process may take some time, so be patient and avoid interrupting it. Your computer may restart multiple times during the installation.
- Setup and customization: Once the installation is finished, Windows 11 will boot up. Follow the setup wizard to personalize your settings, such as user accounts, privacy preferences, and app installations.
By following these step-by-step instructions and paying attention to the on-screen prompts, you can smoothly upgrade to Windows 11 and enjoy its new features and enhancements. Remember to take your time and backup your important files before proceeding with the upgrade.
Conclusion
Upgrading to Windows 11 can be a smooth process if you follow the step-by-step tutorial provided. With its sleek design and new features, Windows 11 offers an enhanced user experience. Keep in mind to check your system requirements before upgrading and backup your files to prevent any data loss. Embrace the latest technology and enjoy the benefits of Windows 11!