Are you experiencing frustrating Windows issues that hinder your productivity? In this article, we will guide you through troubleshooting common Windows problems, helping you overcome crashes, slow performance, errors, and more.
Fixing Slow Boot Times
In this article, we will discuss various methods to troubleshoot and resolve common Windows issues that can cause slow boot times. A slow boot time is not only frustrating but can also negatively impact your productivity. By following these troubleshooting steps, you can optimize your system startup and improve your overall Windows experience.
1. Disable Startup Programs
Having too many programs launching at startup can significantly slow down your boot time. To disable unnecessary startup programs, follow these steps:
- Open the Task Manager by pressing Ctrl+Shift+Esc.
- Go to the “Startup” tab.
- Select the programs you don’t need at startup and click “Disable”.
2. Clean up Your Disk
A cluttered disk can cause slow boot times. Follow these steps to clean up your disk:
- Open the File Explorer and right-click on your main disk (usually C:).
- Select “Properties” and go to the “General” tab.
- Click on “Disk Cleanup” and select the types of files you want to delete.
- Click “OK” and then “Delete Files” to clean up your disk.
3. Update Drivers
Outdated or incompatible drivers can also contribute to slow boot times. To update your drivers:
- Open the Device Manager by pressing the Windows key + X and selecting “Device Manager”.
- Expand the categories and right-click on a device.
- Select “Update driver” and follow the on-screen instructions.
- Repeat this process for all devices with outdated drivers.
4. Check for Malware
Malware can significantly impact your system’s performance, including the boot time. Run a thorough scan with a reliable antivirus program to detect and remove any malware infections. Ensure your antivirus software is up to date for the best protection.
By following these troubleshooting steps, you can effectively fix slow boot times and improve the overall performance of your Windows operating system.
Resolving Blue Screen of Death (BSOD) Errors
Blue Screen of Death (BSOD) errors are a common issue faced by Windows users. These errors occur when the operating system encounters a critical error that it cannot recover from, resulting in a blue screen with an error message.
To troubleshoot BSOD errors, follow these steps:
- Restart your computer: Sometimes, a simple restart can resolve the issue. It helps clear any temporary glitches that may be causing the BSOD error.
- Check for hardware issues: Faulty hardware components such as RAM or hard drive can lead to BSOD errors. Run hardware diagnostic tests to identify and replace any problematic hardware.
- Update drivers: Outdated or incompatible drivers can also trigger BSOD errors. Update your drivers to the latest version from the manufacturer’s website.
- Scan for malware: Malware infections can cause various issues, including BSOD errors. Use reliable antivirus software to scan and remove any malware from your system.
- Undo recent changes: If you recently installed new software or made system changes, they might be the cause of the BSOD error. Undo these changes or use the System Restore feature to revert your system to a previous stable state.
- Check for overheating: Overheating can lead to system instability and BSOD errors. Ensure that your computer has proper ventilation and clean the dust from fans and heat sinks.
By following these troubleshooting steps, you can effectively resolve BSOD errors and restore the stability of your Windows system. However, if the problem persists, it is recommended to seek professional help or contact Microsoft support for further assistance.
Troubleshooting Network Connection Problems
In this article, we will discuss common network connection problems and how to troubleshoot them on a Windows operating system.
1. Check Network Cables and Connections
The first step is to ensure that all network cables are properly plugged in and connections are secure. Check both ends of the Ethernet cable and make sure they are securely connected to the network device and the computer.
If you are using a wireless connection, ensure that your device is within the range of the network’s signal and that the Wi-Fi is turned on.
2. Restart Your Router and Modem
If you are unable to connect to the internet, try restarting your router and modem. Sometimes a simple restart can resolve connectivity issues caused by temporary glitches.
Turn off the power to both your router and modem, wait for about 30 seconds, and then turn them back on. Wait for a few minutes until the devices finish rebooting, and then try connecting to the network again.
3. Disable and Re-enable Network Adapters
If restarting your router and modem doesn’t fix the problem, try disabling and re-enabling your network adapter. This can help refresh the connection and resolve any software-related issues.
To do this, go to the Control Panel, open the “Network and Internet” settings, and select “Network and Sharing Center.” From there, choose “Change adapter settings” and right-click on your network adapter. Select “Disable” and wait for a few seconds, then right-click again and select “Enable.”
4. Update Network Drivers
Outdated or faulty network drivers can also cause network connection problems. To ensure that your drivers are up to date, go to the manufacturer’s website and download the latest drivers for your specific network adapter model.
Install the updated drivers and restart your computer. This can often resolve compatibility issues and improve network connectivity.
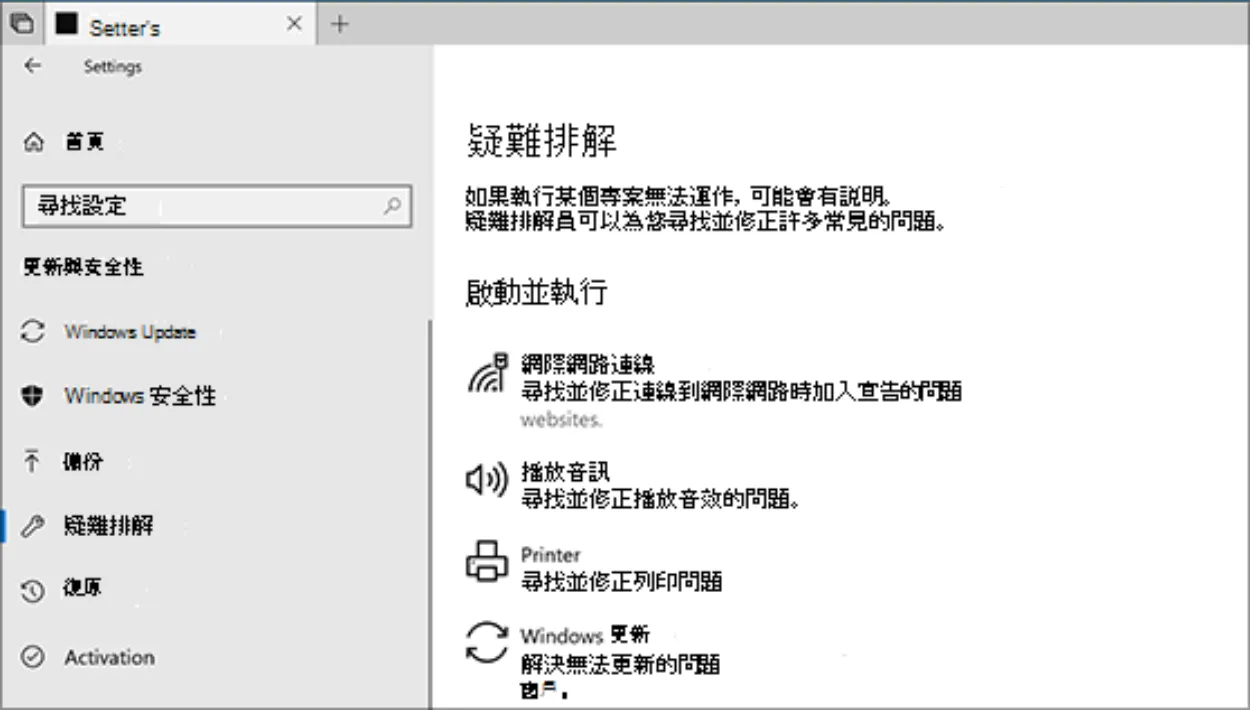
5. Run Network Troubleshooter
If the above steps don’t resolve the issue, try running the built-in network troubleshooter provided by Windows. This tool can automatically detect and fix common network problems.
To access the network troubleshooter, go to the Control Panel, open the “Network and Internet” settings, and select “Network and Sharing Center.” From there, click on “Troubleshoot problems” and follow the on-screen instructions.
6. Contact Your Internet Service Provider
If none of the above solutions work, the problem may be with your internet service provider (ISP). Contact your ISP’s customer support for further assistance. They can help identify any network issues on their end and provide specific troubleshooting steps.
Recovering Lost or Corrupted Files
When dealing with common Windows issues, one of the most distressing situations is losing or encountering corruption in important files. Fortunately, there are several steps you can take to recover these files and minimize the potential damage.
1. Check the Recycle Bin and Temporary Files
Start by checking the Recycle Bin for any accidentally deleted files. If you find the missing files, right-click on them and choose “Restore.” Additionally, look in the Temporary Files folder, as Windows saves temporary versions of files there.
2. Utilize File History or System Restore
If the files were not found in the Recycle Bin or Temporary Files, Windows offers two built-in features that can help restore lost or corrupted files. File History allows you to recover previous versions of files, while System Restore reverts your system back to a previous state.
3. Try Third-Party Data Recovery Software
If the previous steps did not yield satisfactory results, consider using third-party data recovery software. These tools are designed to scan your storage devices and retrieve lost or corrupted files. Ensure you choose a reputable and reliable software.
4. Consult with a Professional
If all else fails or if the files are of utmost importance, it is recommended to consult with a professional data recovery service. They possess advanced tools and expertise to handle complex scenarios and increase the chances of file recovery.
Remember, prevention is always better than cure. It is crucial to regularly back up your files to an external storage device or cloud-based service to avoid potential data loss or corruption.
Conclusion
In conclusion, troubleshooting common Windows issues can be a challenging task. However, by following the necessary steps and utilizing the available resources, users can effectively resolve common problems and optimize their Windows experience.